Thinking about growing magic mushrooms at home for the first time?
If so, you’re not alone.
After dealing with inconsistencies getting shrooms from my trusted source (my barber), I wanted and easier way to source magic mushrooms that didn’t require waiting weeks on end and dozens of text messages.
That’s why, after chatting with my close friend Adrian, we decided to grow our own magic mushrooms for the first time.
In this guide, I’ll walk you through the exact process we used to grow magic mushrooms at home.
Plus, I’ll share what worked well, what didn’t, and all of the materials required to growing psilocybin mushrooms so that you can become one of the best mushroom growers around!
Can You Safely Grow Magic Mushrooms At Home?
Yes, it’s completely safe grow magic mushrooms. And magic mushroom cultivation is A LOT easier than you may think!
Growing magic mushrooms at home requires a temperature-controlled room, a grow kit (we like the Magic Bag), live cultures, and a little bit of patience.
How Long Does It Take To Grow Magic Mushrooms?
The process of growing magic mushrooms can take anywhere from 4-6 weeks for a complete mushroom growth cycle.
With our first home cultivation, we noticed fruiting within ~5 weeks and harvested our first mushrooms within 7 weeks.
| Grow Phase | Duration |
|---|---|
| Preparation | 15 minutes |
| Inoculation | 5 minutes |
| Colonization | 3-4 weeks |
| Fruiting | 1-2 weeks |
| Harvesting | Ongoing |
Growing Magic Mushrooms At Home
In order to give you the most detailed guide, I thought it’d be helpful to break down this guide into two parts.
The first section will focus on a step-by-step, detailed timeline and process using the Magic Bag grow kit and MYYCO’s live cultures.
The second section will detail our big takeaways and notes for future grows.
If you’re looking for the “quick-and-dirty” instructions, you can find the 3-step process on Magic Bag’s website here.
Step 1: Preparation
We started our grow in early November when I ordered two Magic Bags and 10cc of Golden Teacher live cultures from MYYCO.
Upon their arrival on November 8th, it was time to get started.
Before I detail everything, I want to give a massive shoutout to my grow parter Adrian who handled the vast majority of the grow. He did a wonderful job detailing everything he did so we could share it with you here.
The first step when the bags arrived was to pull them out of the packaging and let them chill on the counter top for 30 minutes. We did the same with the the live cultures.
As they settle, this is a great time to wash your hands thoroughly to make sure no contamination occurs during inoculation.
(For those of you who aren’t great with big terms like myself, “inoculation” here is just the process of injecting the live cultures into the side of the grow bags)
After washing your hands, we recommend putting on a pair of medical gloves making sure that you minimize any contaminants.
Then, use rubbing alcohol to clean the outside of the bag where the inoculation port is. The Magic Bag should come with an alcohol swap.
Step 2: Inoculation
The next step in growing magic mushrooms is to inject spores into each grow bag.
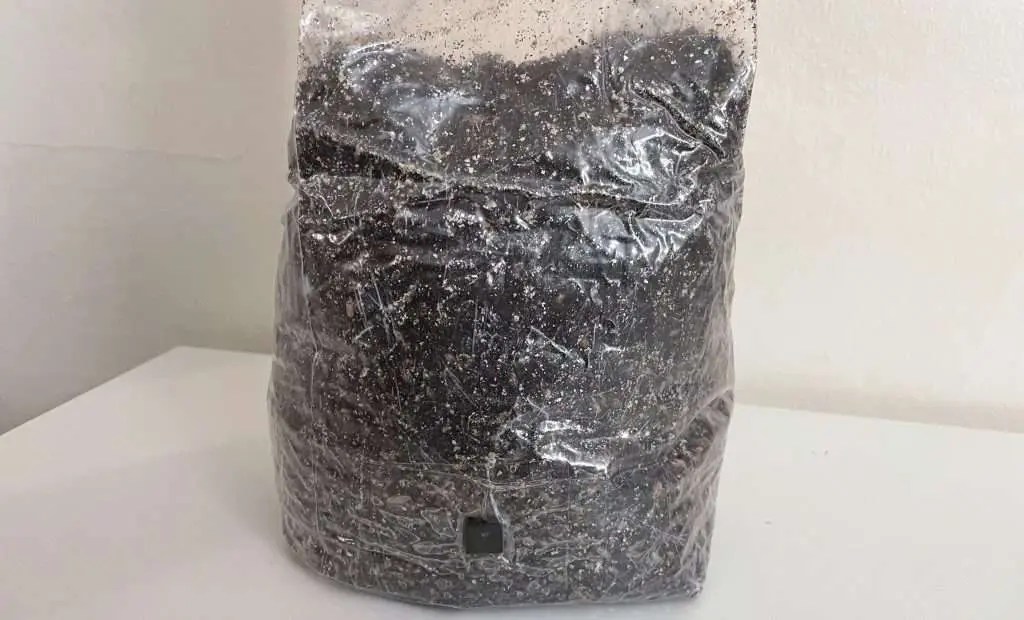
Once you’re ready, use the spore syringes from MYYCO to go through the injection port in the bag.
One thing to note here:
There was initially a lot of resistance when Adrian tried to inject the live cultures into the grow bags. To solve this, he moved the needle “back and forth to find the sweet spot” to ensure it was fully injected into the bag.
Since we had two grow bags, we used 5cc of live cultures in each one.
Once you’re done with inoculation, it’s time to set the grow bag in a dark space at 72 degrees (Fahrenheit).

Step 3: Colonization
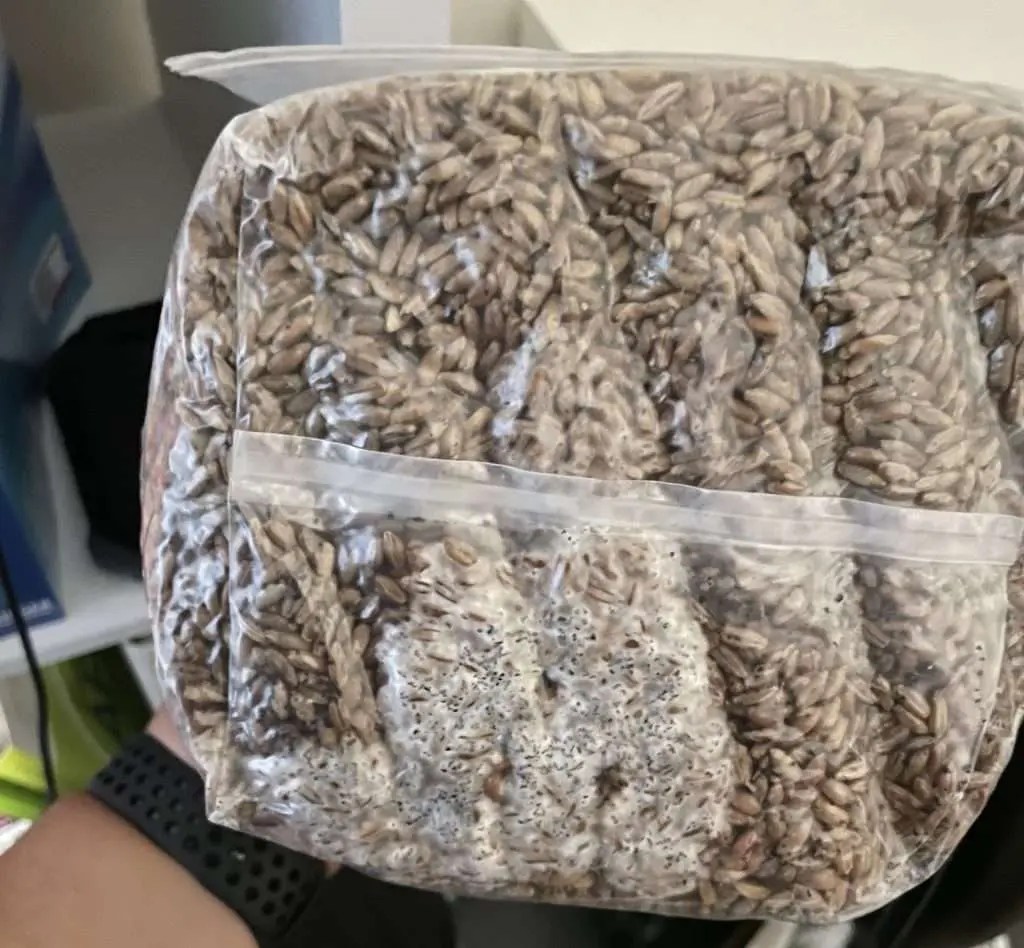
Within the first week on November 14th, we noticed mushroom mycelium starting to grow around the port on both grow bags.

Mycelium is essentially the vegetative “body” for fungi that produce mushrooms. It looks like a “white web” and helps with the absorption of nutrients and food from the host environment.
Over the next few days, the mycelium continued to grow and spread throughout the grow bags.
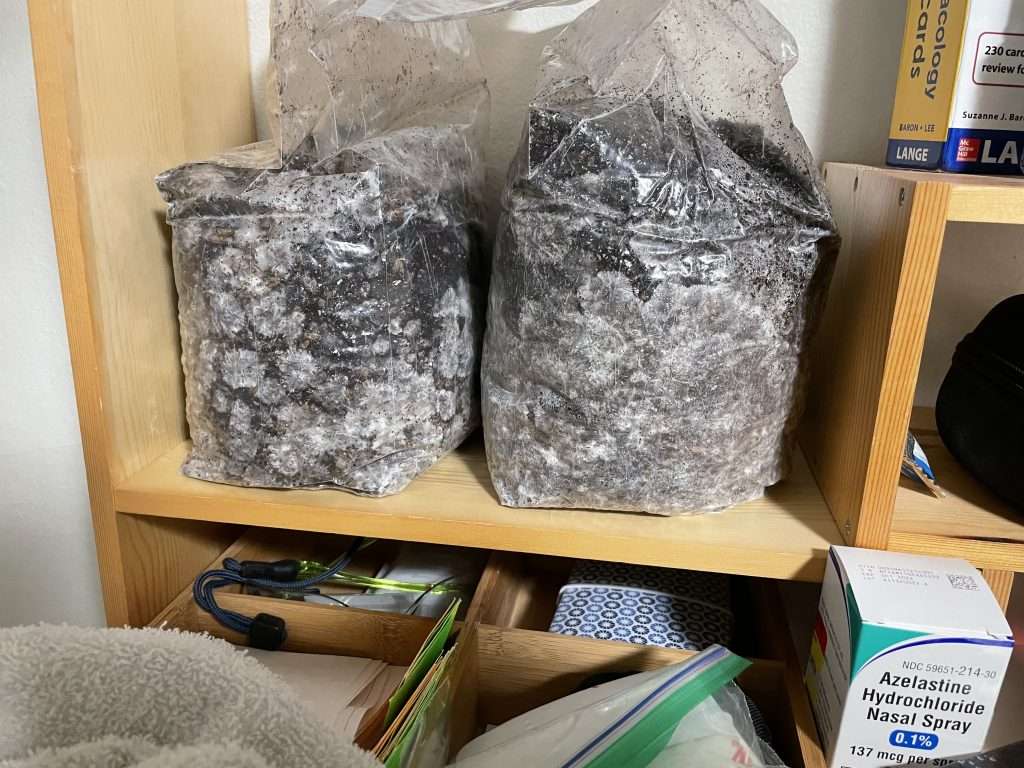
On November 19th (11 days after inoculation), we decided to mix up the bags in order to get the mycelia to spread throughout the substrate.

One thing we noticed is that the substrate was very tightly packed together. It took a little finesse in order to break it up properly.
We recommend “kneading” and “squeezing” the bag in order to break up the mycelia. Be gentle and think of massaging the bag rather than being too firm with it.

Step 4: Fruiting Chamber
By December 8th, just one month after we started the grow process, we started to notice mushrooms starting to fruit. We were able to see small stems with with little black tops on them.
On December 16th, more defined mushroom shaped figures were starting to form.
That’s why the next day, on December 17th, Adrian decided to cut both bags open so the mushrooms could get some air and start fruiting.
Each day, Adrian would give 3-5 spritzes of filtered water using a sanitized spray bottle that he washed out with both alcohol and bleach (separately).
At this time, we also changed the temperature of the room from 72°F to 74°F for the fruiting process.
On December 24th, it’s almost like Santa delivered us an early Christmas present.

We saw more definite fruiting and lots of very small mushrooms with both closed and opened caps. Some of the veils were ruptured; some weren’t.
This is where Adrian felt like the “regular” instructions broke down. So, he decided to use his intuition and medical school background to take over the grow process.
Step 5: Harvesting
As the mushrooms began fruiting, it was time to start harvesting.
This process requires a lot of delicate work in order to remove the fruited mushrooms with care.
You don’t want to break the veil because the mushrooms will drop their spores and, as Adrian put it, “drops black sh*t.”
Focus on the mushrooms where the veil is about to open and work on harvesting those first.
One thing to note here is that the mushrooms that fruited properly were a nice golden brown color, while mushrooms that were aborted had turned black.
Make sure to remove aborted mushrooms from the bag as soon as you notice them. Doing so helps a lot with the fruiting of other healthy mushrooms.
Adrian used medical gloves and a surgical hemostat to pull the mushrooms, making sure that the hemostat was cleaned thoroughly with alcohol before each use.
Here’s a look at his daily routine during harvesting:
- Examine grow bags, noting both healthy and aborted mushrooms
- Pull aborted mushrooms first
- Harvest healthy mushrooms
- Moisturize bags with 3-5 spritzes of filtered water
One thing note is that the any mushrooms that grow on the side of the bag have a tendency to get “water rot” pretty quickly. That’s why Adrian made these a priority to pull. While they may come out in odd shapes, they are completely fine to consume.
After pulling the healthy mushrooms, use a soft bristle toothbrush to clean the mushrooms off as they may have some substrate left on them.
Place the fruited mushrooms in a dehydrator at 135°F until the mushrooms are cracker-dry.

If you can get any “flex” in a mushroom, that means there’s still moisture inside and can become contaminated.
Once dried, store mushrooms in an airtight container with a desiccant to help absorb any moisture so they don’t go bad.
And there you have it! You’ve now successfully grow magic mushrooms at home.

Our Takeaways
Growing magic mushrooms at home is one big, exciting test of patience.
There were several times throughout the process where we were so excited to have our own mushrooms that we became a little bit nervous about whether or not they would grow properly.
Overall, growing magic mushrooms at home is such a fun process and one that helps you gain a lot more respect about these beautiful fungi.
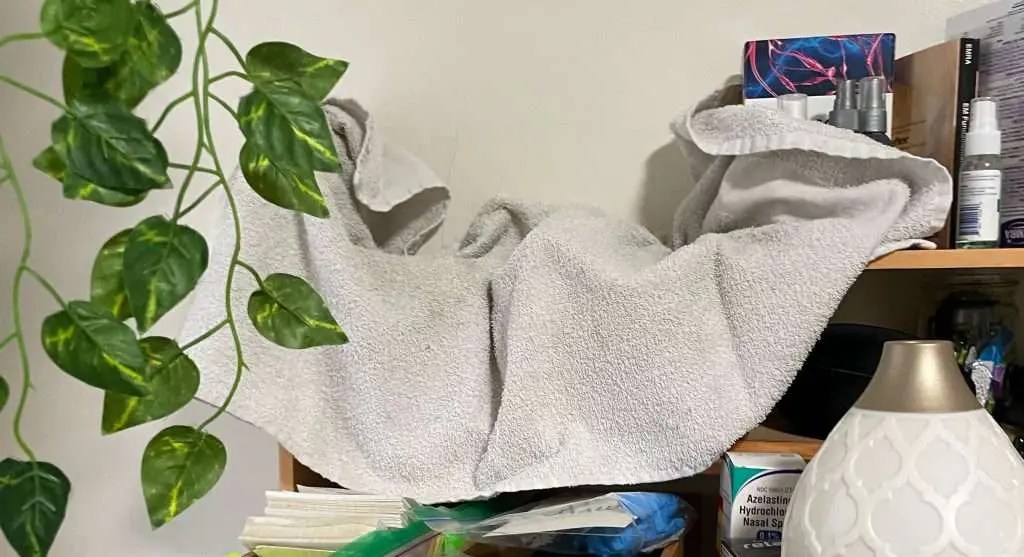
Adrian made note that during the first 4 weeks of growing it’s important to limit light exposure. We used a common household towel to cover the bags and prevent any light exposure.
Throughout this process, we were able to harvest over 70 grams of magic mushrooms within 3 full months. It was a lot more than we were expecting, especially for costing just under $50 for the grow bags and live cultures.
We highly recommend using the Magic Bag and MYYCO live cultures. The company takes 100% of the profits from every Magic Bag sale are donated to 501(c)(3) non-profit medical research centers investigating and furthering the groundbreaking therapeutic use of magic mushrooms in combating ailments such as PTSD, Alzheimer’s, treatment-resistant depression, addiction, and end-of-life anxiety and depression.
We hope this guide is helpful in your own magic mushrooms growing journey… Happy tripping!
Disclosure: We may receive affiliate compensation for some of the links on this site. You can read our affiliate disclosure in our Privacy Policy. Any product we recommend is something our team has tried out and endorses. This site does not endorse the use and/or possession of any illegal drugs. The information contained in this website regarding legal or illegal drug use in not an endorsem*nt of any such use and should only be used for educational purposes.